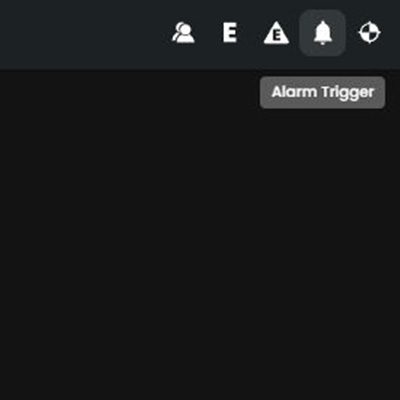
01: Access Alarms
Click Settings on the left hand menu, then Select Alarm triggers from the menu on the upper right corner of the screen.
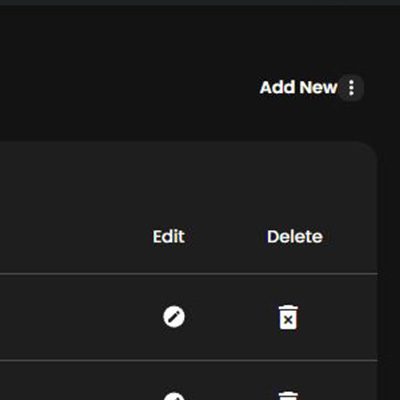
02: Add New Alarm
Navigate to and click the "Add New" button on the upper right corner of the alarm trigger page.
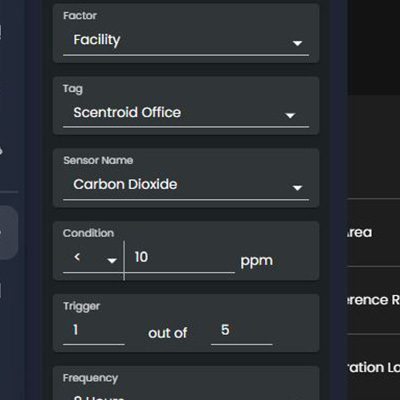
03: Fill Out Form
A form appears on the left hand side of the screen. See below for a quick primer on What each of the fields mean!
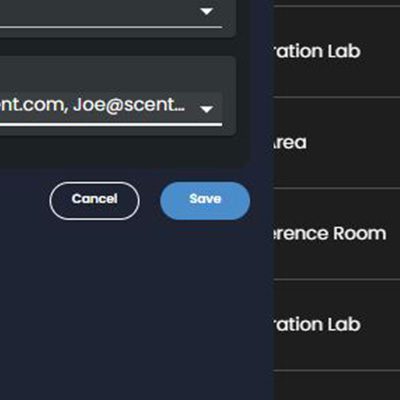
04: Save...and Wait!
When the alarm is triggered, you will be notified via email and in-app.
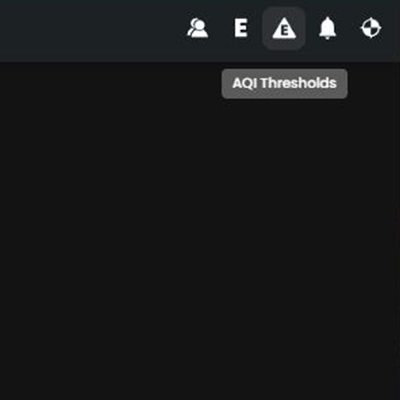
01: Access AQI Settings
Click Settings on the left hand menu, then Select AQI settings from the menu on the upper right corner of the screen.
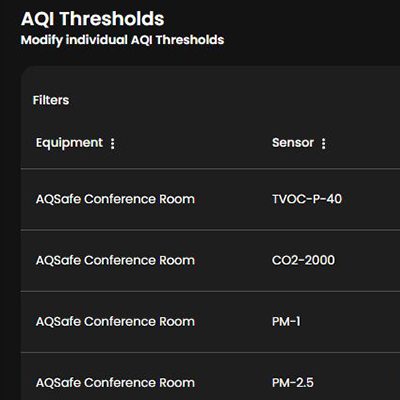
02: Apply Filters
If you are experiencing difficulty locating the sensor you wish to adjust, use the filters on the left hand side to find it!
03: Click Edit
Once you have located your sensor, right click on the edit button to the right of the AQI chart to modify it.
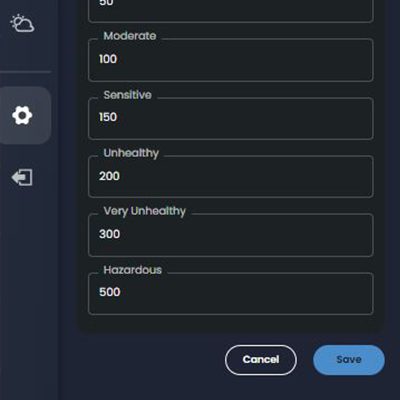
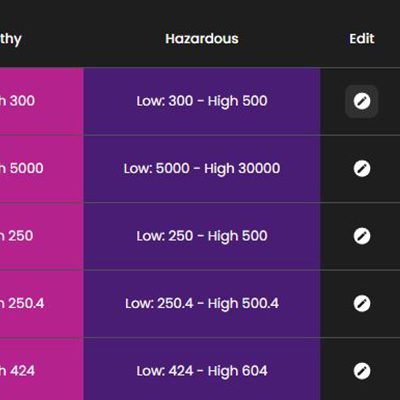
04: Modify Fields
Clicking edit will display all of the ceiling values for your selected sensor. Once you have completed your modifications, Click Save.
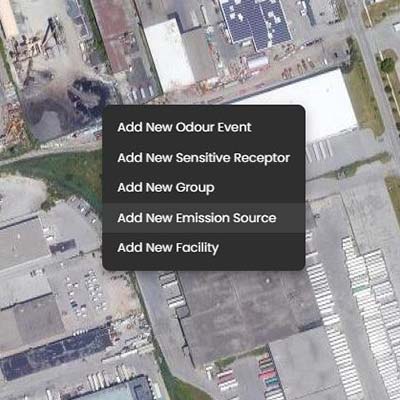
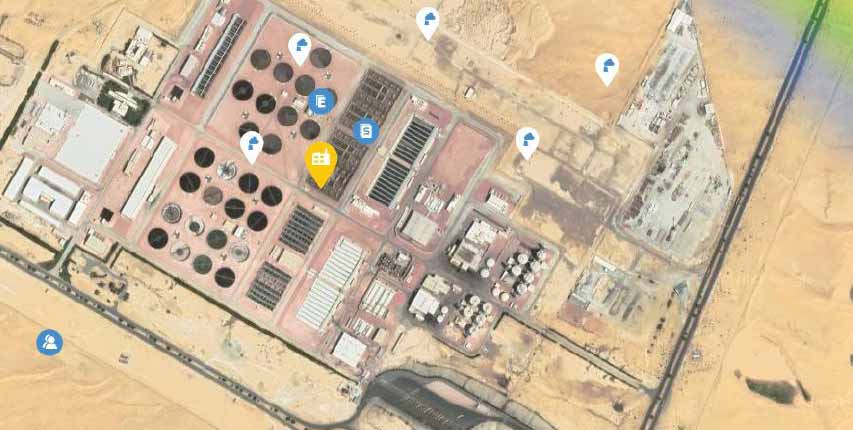
01: Right Click on Map
Once the source has been identified on the map, right click on it and select "New Emission Source.
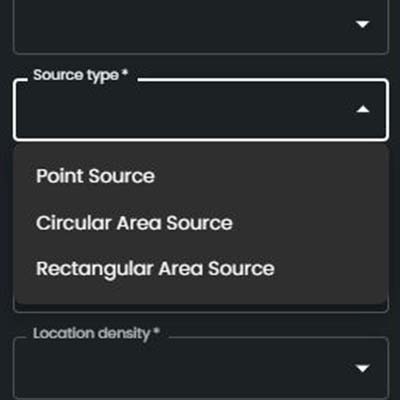
02: Choose Source Type
View the different types of emission source plumes below to determine the right source type, or how to identify it visually.
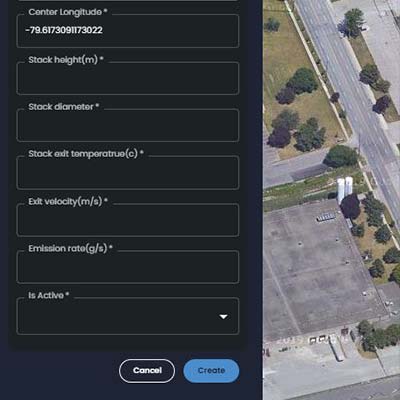
03: Fill Out All Fields
Fill out the slide out panel to the best of your abilities. For more information on what each section may mean, please refer to the slide out panel information primer located below.
04: Save and wait for results
Once complete, click 'Save' and wait for your plume to appear. Note: It may take up to 10 minutes for it to appear, as plumes are processed within 10 minute intervals.
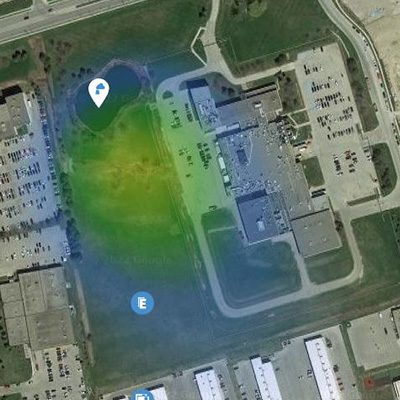
Point Source
If you want to track a smoke stack, chimney, or any other source that is forced into the open air (at least 1m above ground), use Point Source tracking. Note: You will need to know exit velocity, exit temperature, stack diameter and height.
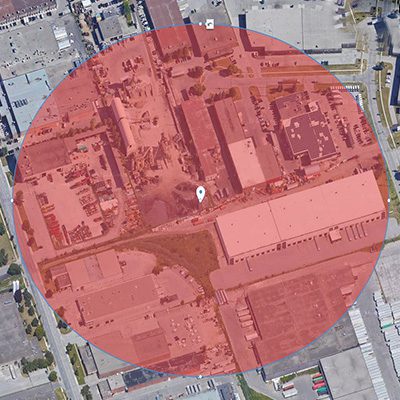
Circular Source
Use a circular source if you plan on tracking an area that is circular in shape. In order to place a circular source, click "draw on map" underneath the text fields, then click the center point of the circle and drag it outwards to capture the area.

Rectangular Source
Use a rectangular source if you plan on tracking an area that is square-like in shape. In order to place a rectangular source, click "draw on map" underneath the text fields, then click on any of the corners of the area you wish you track. Moving clockwise, click the remaining 3 corners.